
8 Steps for Creating a Gallery Frame Wall
04 Jan 2016, by in Home Decor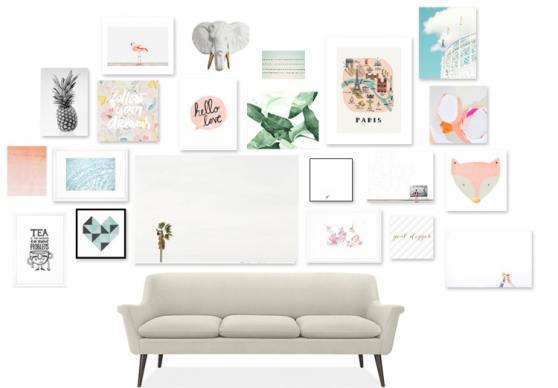
The holidays are over, so now you have lots of new memories and photos to show for it. You may even be inspired to hang a few up around the house. A big trend right now is a Gallery Frame Wall, but there are a few tricks to the trade for doing it right. Here are a few tips that our Diane Agricola suggests:
- Use all the same frame in different sizes — 4 x 6, 5 x 7, 8 x 10 — any will work.
- Lay the frames on the floor in a large open area, don’t worry about what photos you will use just yet
- Start in the middle with one of your largest frames and build out your grouping from there. You want to have the same amount of space in between each frame. You can use your fist as a measurement.
- The start of your grouping should be 5 ft. up from the floor
- Use brown craft paper and cut out the sizes of your frame and tape with painters tape the craft paper on the wall this way you can see your grouping without making any unnecessary holes in your wall.
- Measure on your frame to the hook and then measure distance on your craft paper and put in your nail.
- You are now ready to put your grouping on the wall.
- After this is done you will know how many photos you will need and what sizes, consider adding memorabilia like a play bill or clock with times of the events framed.
TAGS: gallery wall